How to Create Your First Recipe Book as an Online Coach
Step-by-step guide to building your first recipe book in HubFit. Learn how to choose themes, organize meals, and set up the perfect display format for your c...
Creating a recipe book for your online coaching clients might seem daunting at first, but HubFit’s intuitive Recipe Book feature breaks the process down into manageable steps. Whether you’re building your first book or your fifth, this guide will walk you through each stage so you can get your nutrition content in front of your clients quickly and professionally.
Why Recipe Books Matter for Online Coaches
Before we dive into the how-to, let’s talk about the why. Your clients are paying you for expertise, but they’re also hungry for practical resources they can use immediately. A well-organized recipe book does exactly that. It transforms your nutrition knowledge into actionable, meal-by-meal guidance. It keeps clients engaged between coaching sessions and reduces those repetitive “What should I eat?” messages.
In HubFit, your recipe book becomes a dynamic asset that’s always at your clients’ fingertips.
Watch how to build a recipe book in HubFit:
Step 1: Choose Your Theme
When you start creating a new recipe book in HubFit, the first decision is aesthetic: choosing a theme. This sets the visual tone for your entire book.
HubFit offers pre-built themes designed specifically for fitness and nutrition coaches. Think about your brand and your client base:
- Minimalist themes work well if you cater to clients who want no-fuss, straightforward nutrition guidance
- Vibrant, colorful themes appeal to clients who appreciate visual inspiration and motivational design
- Professional, clean themes suit corporate wellness programs or high-end coaching brands
Your theme choice affects how sections display, how meals are presented, and the overall impression clients get when they open your book. Don’t overthink it. You can always adjust this later.
Step 2: Name Your Recipe Book (Max 30 Characters)
Keep it short, descriptive, and memorable. Your book’s name should instantly tell clients what they’re getting into.
Strong examples:
- “High-Protein Meals”
- “7-Day Meal Prep Guide”
- “Clean Eating Recipes”
- “Performance Nutrition”
Weaker examples:
- “Recipes for you to cook and eat because I am your coach and this is important”
- “BOOK 1”
The 30-character limit forces clarity. If you’re struggling to name your book concisely, you might need to narrow your focus, which is actually a good thing. A tightly-scoped recipe book outperforms a scattered one every time.
Step 3: Write a Compelling Description (Max 100 Characters)
Your description is the sales pitch. It appears when clients browse your coaching library, so it needs to entice them to click.
Strong descriptions:
- “25 protein-packed recipes designed for muscle growth and recovery”
- “Simple, 20-minute dinners perfect for busy weeknights”
- “Macro-friendly meals to hit your nutrition targets”
Weaker descriptions:
- “Some recipes”
- “This is my recipe book”
Your description should answer one question: “What’s in it for me?” Focus on benefits, not just content.
Step 4: Pick Your Cover Image
HubFit provides 20 professionally designed default cover images specifically curated for fitness and nutrition content. These include imagery of fresh produce, prepared meals, smoothie bowls, lean proteins, and other nutrition-focused visuals.
Using the defaults: Browse through the 20 options and select the one that best matches your recipe book’s vibe. A colorful smoothie bowl cover works perfectly for a breakfast recipe book. A grilled chicken and vegetables image suits a high-protein collection.
Using a custom upload: You can also upload your own cover image. This is ideal if you want maximum brand alignment. A few tips:
- Use high-resolution images (at least 1200px wide)
- Keep text minimal on the cover
- Ensure the image is visually distinct and professional
- Test how it looks on mobile (most clients will view it there)
The cover is real estate, so make it count. It’s often the first thing a prospective client sees, and it tells them whether your content is worth their attention.
Step 5: Create Your Sections
Sections are how you organize meals within your recipe book. Think of them as chapters.
HubFit allows you to create as many sections as you need. Here are common organizational structures:
- By meal type: Breakfast, Lunch, Dinner, Snacks, Desserts
- By prep time: Quick Meals (under 15 min), Medium (15-30 min), Slow Cooker (30+ min)
- By macro focus: High-Protein, Balanced, Low-Carb, Keto-Friendly
- By dietary need: Dairy-Free, Gluten-Free, Vegan, Paleo
- By cuisine: Italian, Asian, Mexican, Mediterranean
Each section should contain meals that actually belong together. Avoid creating a “Miscellaneous” section if possible, as it signals unclear organization.
Pro tip: Start with 3-5 sections for your first book. You can always expand later. Too many sections fragment the experience and overwhelm clients with navigation.
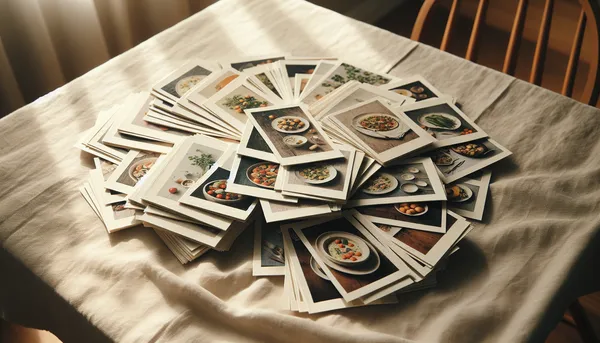
Step 6: Add Meals from the Meal Library
HubFit’s Meal Library is where the magic happens. It’s a searchable database of meals that you’ve already created or that are available through HubFit’s library.
When adding meals to your recipe book:
- Click “Add Meal” within your section
- Search the Meal Library by name or ingredient
- Select the meals you want to include
- Drag them into your preferred order
Organization matters here. Within each section, order meals logically. For a “Breakfast” section, you might go:
- Quick options first (smoothies, overnight oats)
- Then warm options (eggs, pancakes)
- Then grab-and-go options (bars, muffins)
Think about how your client will browse the section. What makes intuitive sense?
Step 7: Choose Your Display Format
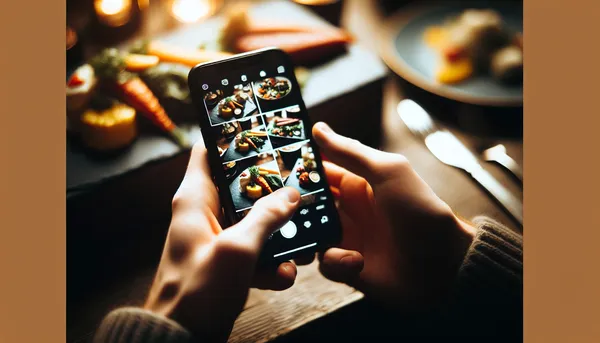
This is where client experience becomes tangible. HubFit offers four display formats, and choosing the right one dramatically affects how clients interact with your recipe book.
Large Cards (Default)
Meals display as big, full-width cards in a slideshow-style layout. This format is visually impressive and works beautifully on both desktop and mobile.
Best for: Visual learners, clients who love seeing finished dishes, premium positioning of your best recipes
Squares
Meals appear in a grid format, like Instagram. This is compact and lets clients see many options at a glance.
Best for: Recipe books with 20+ items, clients who want to scan and choose quickly, mobile-first audiences
Narrow Cards
A horizontal scroll layout with narrower cards. Feels modern and lets clients see 2-3 options simultaneously.
Best for: Mid-size books (10-25 items), a balance between showcasing and scanability
List
Simple vertical list with meal names and thumbnails. Most text-focused and utilitarian.
Best for: Coaches who prioritize information density, clients who want to search and filter rather than browse
We’ll dive deeper into choosing the perfect format in our display format guide.
Step 8: Reorder Meals via Drag-and-Drop
HubFit makes reordering intuitive. Simply click and drag meals within a section to rearrange them. You can also drag meals between sections.
Why this matters: The order you present recipes in shapes how clients engage. Start strong with your crowd-pleasers. Save niche or challenging recipes for later in the section. Clients who’ve already found three meals they love are more willing to try something new.
Test your book by viewing it from a client’s perspective. Does the flow make sense? Would you want to cook these meals in this order?
Step 9: Preview and Publish
Before you go live, preview your recipe book as a client would see it. Check:
- Does the cover image look good?
- Are sections clearly named?
- Is the display format readable on mobile?
- Do meals appear in a logical order?
- Are descriptions clear and enticing?
Once you’re satisfied, publish your recipe book. It’s now live for your clients to access.
Common Mistakes to Avoid
Creating too many books: Clients get confused by choice. One focused book beats three scattered ones.
Overloading sections: Keep sections to 5-10 items each. More than that and clients scroll endlessly.
Ignoring mobile: Most clients browse on their phones. Always preview on mobile before publishing.
Vague naming: “Recipes” tells clients nothing. “Lean Muscle Recipes” tells them everything.
Inconsistent organization: If you organize the first section by prep time, don’t organize the second by cuisine. Consistency matters.
Your Recipe Book Is Ready
You’ve now built a complete, functional recipe book in HubFit. This is a resource that will pay dividends. Clients will reference it repeatedly, it reduces support questions, and it positions you as organized and professional.
The real power comes from what you do next: update it regularly, get client feedback, and continuously refine how you organize and present meals. Learn more about structuring sections that keep clients engaged.
Ready to Build Your Recipe Book?
HubFit makes it simple to transform your nutrition expertise into a polished, client-ready resource. Start creating your first recipe book today and give your clients the practical nutrition guidance they’re craving.
Want to master recipe books? Check out our complete guide to ultimate recipe book strategies for online coaches, or explore how many recipes you should actually include in your book.

The HubFit team shares expert insights on training, nutrition, and wellness to help coaches and clients achieve their fitness goals.